Learn Microsoft Azure by Doing:How to create your first Virtual Machine?

Looking to get started with Microsoft Azure? Well, you’ve come to the right place! In this guide, we will walk through the steps to create an Azure Virtual machine using Windows 2019 datacenter image and connecting to it using RDP.
Introduction
What is Azure Virtual Machine?
- Azure Virtual Machine is a type of on-demand, scalable computing resource
- It gives you more control over the computing environment
- It gives you the flexibility of virtualization without having to buy and maintain the physical hardware that runs it
Task Steps
Step 1: Log In to the Azure Portal
- Open Azure Portal. https://azure.microsoft.com/en-in/account/
- Click Sign In from top right of the page
- On the Azure Portal sign-in page, enter the username.
- Click Next.
- Enter the password.
- Click Sign in.
- In the Welcome to Microsoft Azure message box, click Maybe later.
Step 2: Create an Azure Virtual Machine
- Click on Create a resource button

2. In the search box, enter Virtual Machine.

3. Select Create and enter the following values in the Basics tab.
Resource group: Select the pre-provisioned group from the dropdown
Instance details:
- Virtual machine name : Give the virtual machine a unique name
- Region: Select East US
- Availability options:Select No infrastructure redundancy required
- Security type:Select Standard
- Image:Select Windows Server 2019 Datacenter — Gen2
- Size:Select Standard_B2s
Administrator account:
- Username:Enter vm1
- Password: Enter a password
- Confirm password: Re-enter the password
Inbound port rules:
- Public inbound ports: Select Allow selected ports
- Select inbound ports: Select HTTP(80), SSH(22), RDP(3389)

4.Click on the Next: Disks button and select the following:
- OS disk type: Select Standard SSD

5.Click on the Next: Networking button, leave all values as default and click on the Next: Management button and select following details:
- Boot diagnostics: Select Disable

6.Click on the Review + Create button and then select Create.
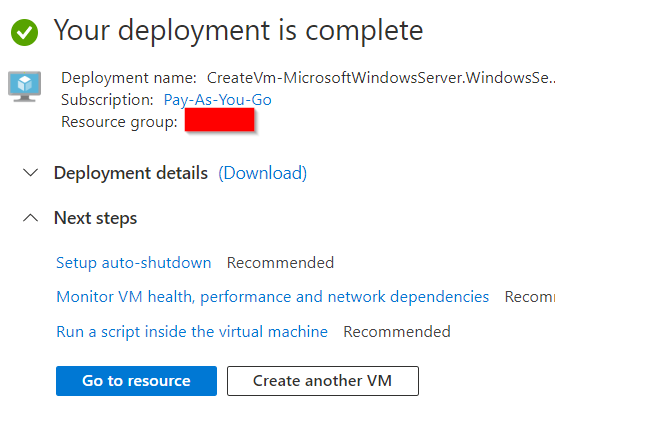
Step 3: Understand Deployment details
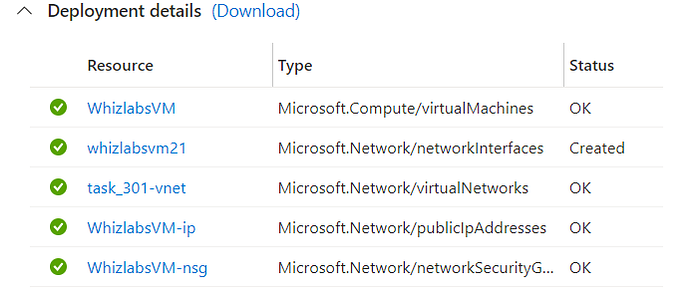
- Click on Deployment details.

2. Here we can see that, by the configurations we made while creating the virtual machine, we have deployed a virtual machine with a network interface, virtual network, a public IP address and a network security group.
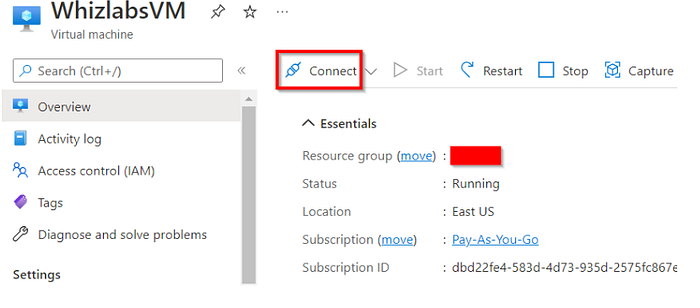
Step 4: RDP into the Virtual Machine
- In the search box at the top of Azure Portal, search for Virtual Machines, select WhizlabsVM(this is the name of my VM )from the list and click on Connect.
2.Select RDP and click on Download RDP File button.
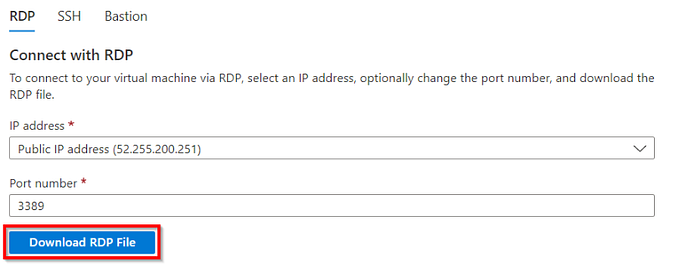
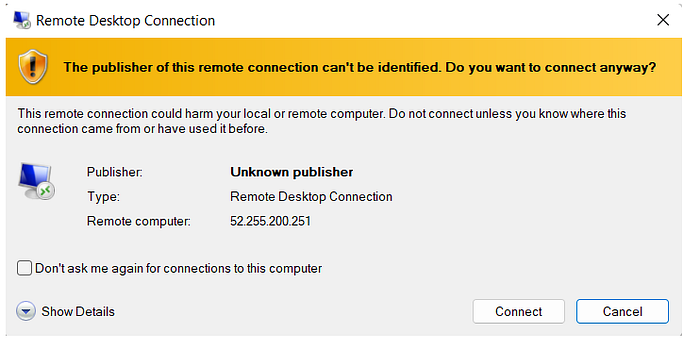
3.Open the download RDP file and select Connect on the displayed prompt.
4. On the Windows Security prompt, click on more choices.
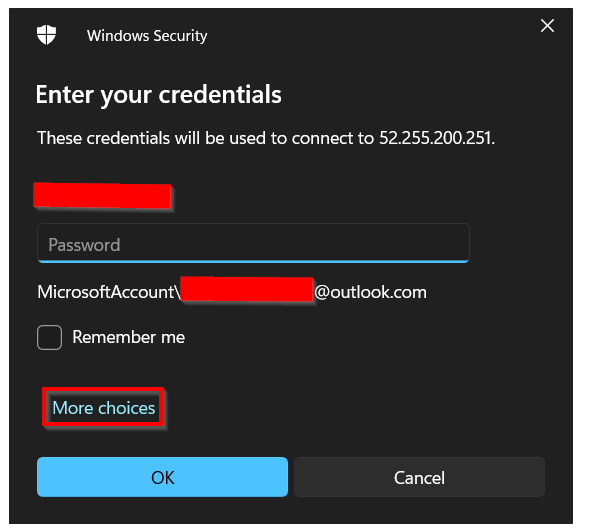
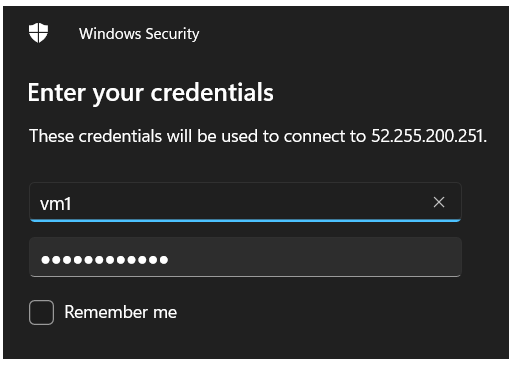
5.Click on Use a different account and enter the username and password you specified while creating the Virtual Machine and select OK.
6.You may receive a certificate warning during the sign-in process. Select Yes to continue.

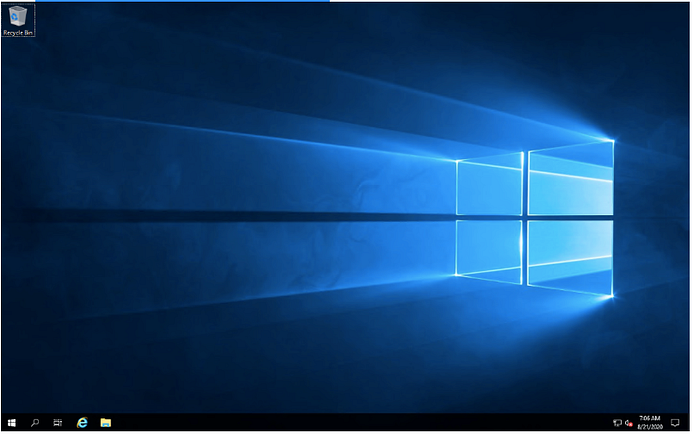
7.After successfully logging into the virtual machine, wait until the windows boots up and is ready to use.
- If you see this message Do you want to allow your PC to be discoverable by other PCs and devices on this network? Click on Yes
- Your Virtual Machine is ready to use
- A Server Manager window might open by default
And here we’re !
You’re all done! Congratulations!
That’s all I have for today folks. Thank you for reading and/or following along! I hope this project was helpful and worth your while. Stay tuned for my next project on this journey into the cloud.
Let’s connect on LinkedIn! 👉 https://www.linkedin.com/in/meriem-terki-1295a1222/